
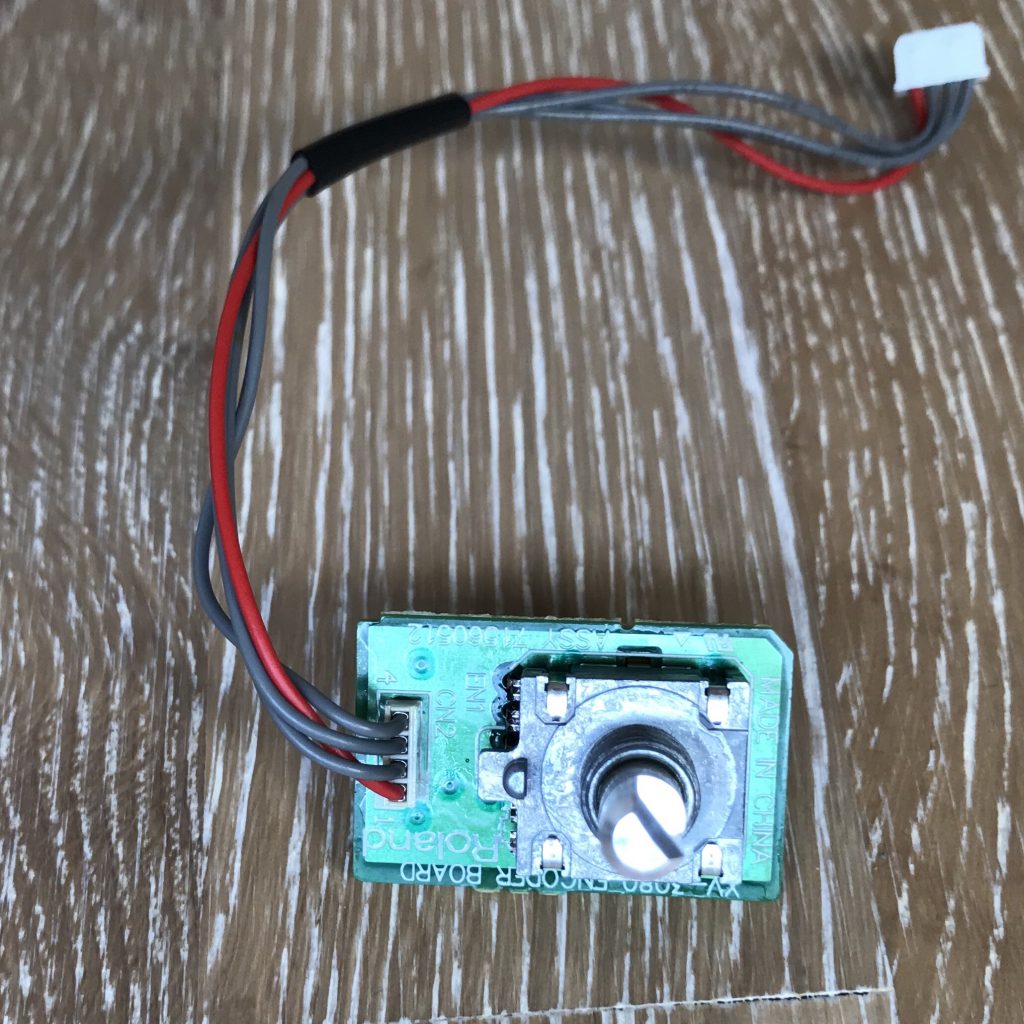
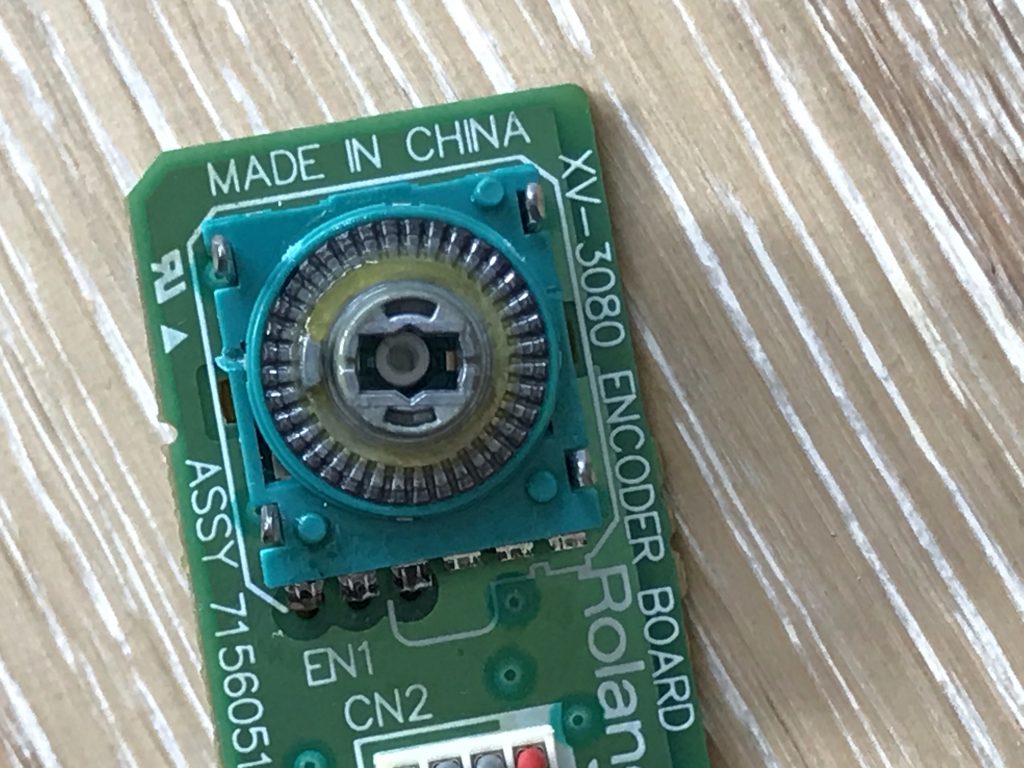
This week I received a nice second-hand XV3080. Everything worked fine, except the unit had the dreaded rotary encoder problem: Turning left, values decreased just fine, turning right and strange things happened. Sometimes values went up, sometimes they stayed put and sometimes they decreased!
A service manual is available, so far so good. But the actual encoder, a part from Alps is not to be had on the market. There exist some replacement tutorials, but none of them does a great job for a quick fix. My assumption is that the part just needs some cleaning…
A rotary encoder is a quite simple and purely mechanical device as you can see here, so my assumption seemed quite plausible and I also found a corresponding repair video for the Waldorf Blofeld.
So if you have the same problem, some experience with screwing 🙂 and 15 to 30 mins time: it’s an easy fix. But as always: you are responsible for your device and you are going break thinks if you have two left hands.
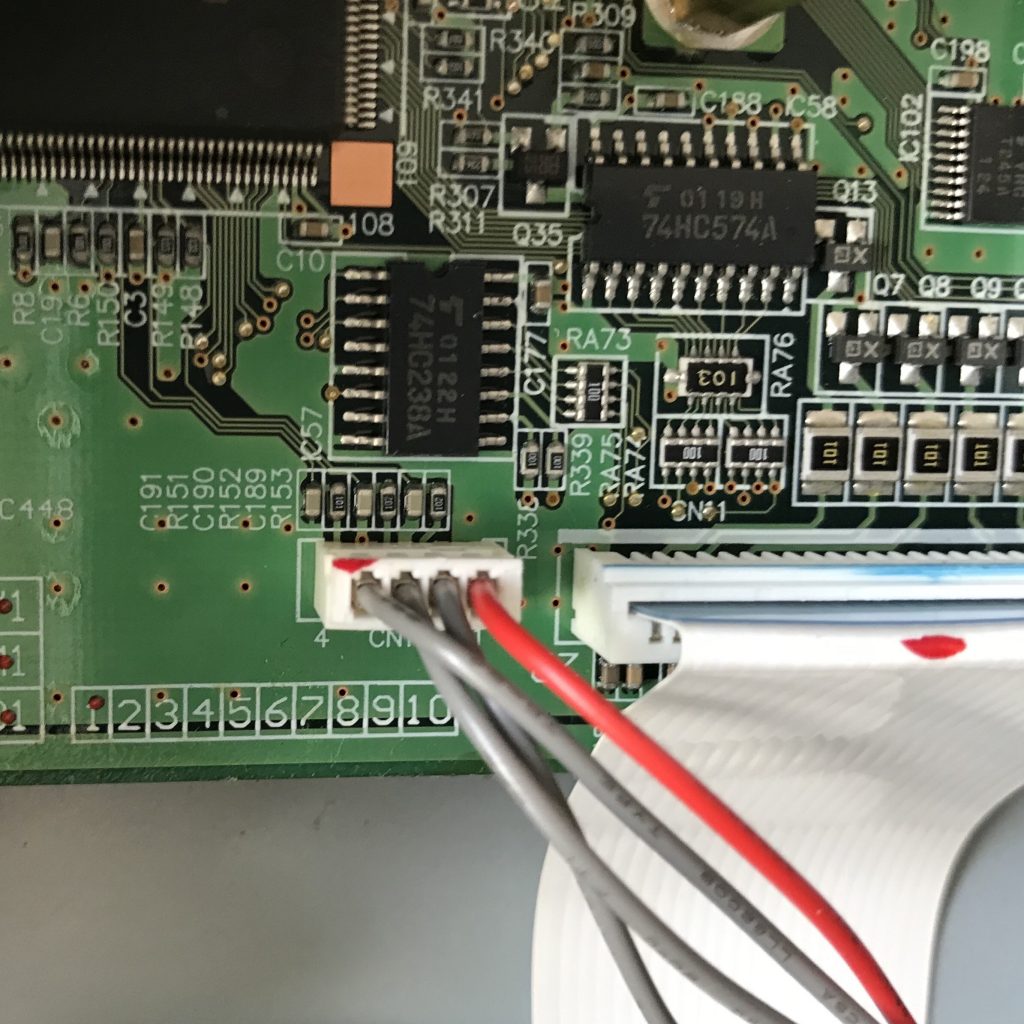
You cannot remove the rotary encoder cap before removing the front panel! Open the top lid and unscrew the front of the synth (see service manual). Remove the encoder cap and unscrew the PCB (Panel-A Board) to unveil the nut that is holding the rotary encoder and its PCB (Encoder Board). If you want to remove the encoder cabling from the synth you will also need to unscrew the expansion base board and then detach the 4-pin connector from the main board.
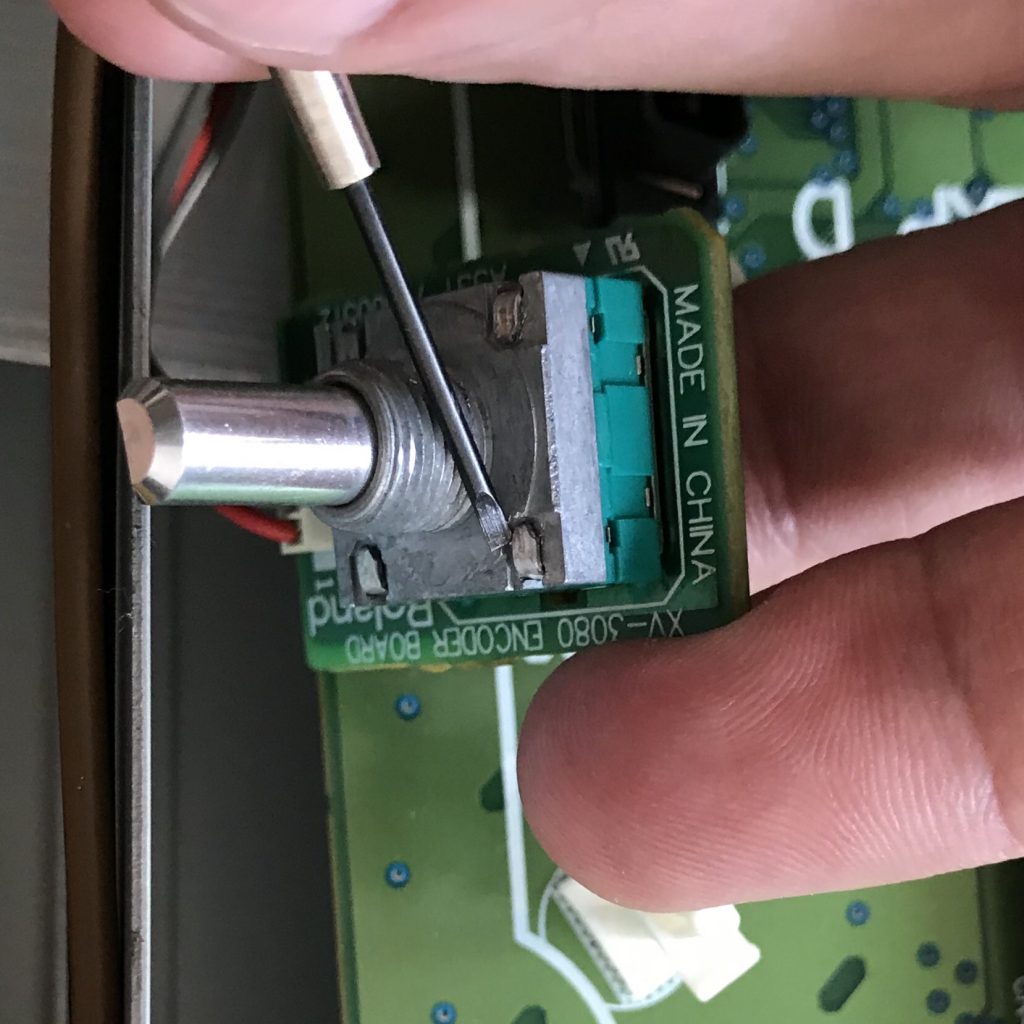
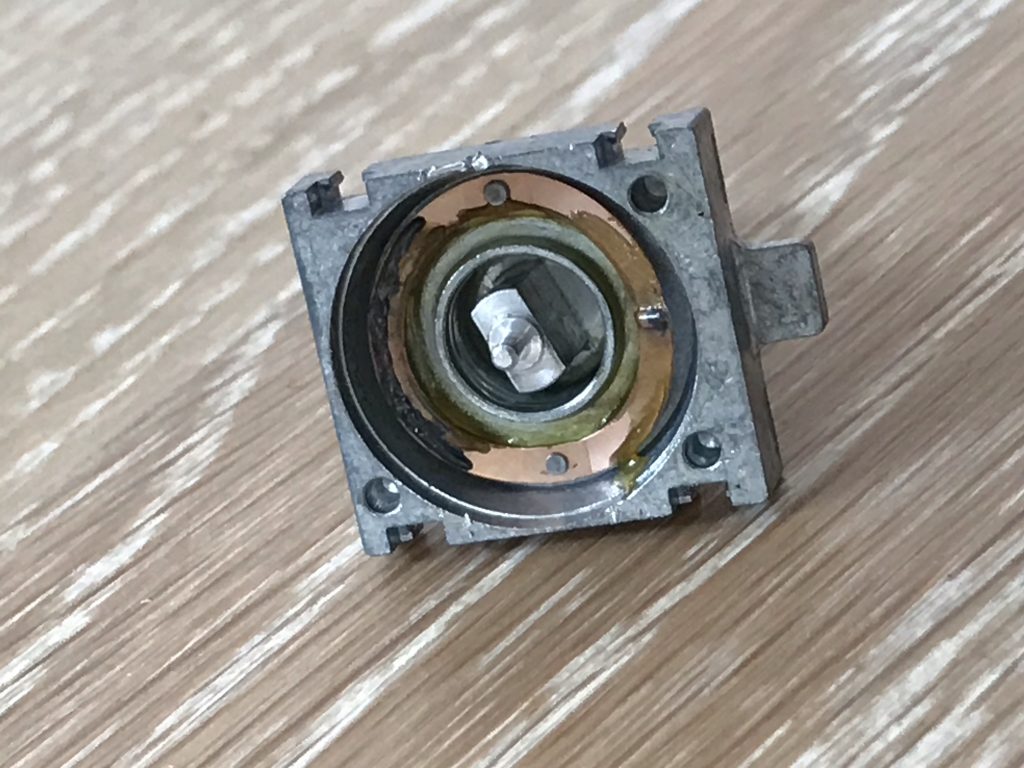
Now that you have the encoder in front of you use a mini flat screwdriver to flip the ears from the metal body of the encoder. Use the inner side to get a good grip.
Straighten the metal bands so they are completely flat and then use the screwdriver (a cutter might be a better choice) to loosen the metal head from the green rest of the encoder by prying. By careful, the green plastic is quite soft and consists of multiple layers. Pry open the metal piece and detach it from the rest. Be careful to not lose any pieces or break the thin contacts.
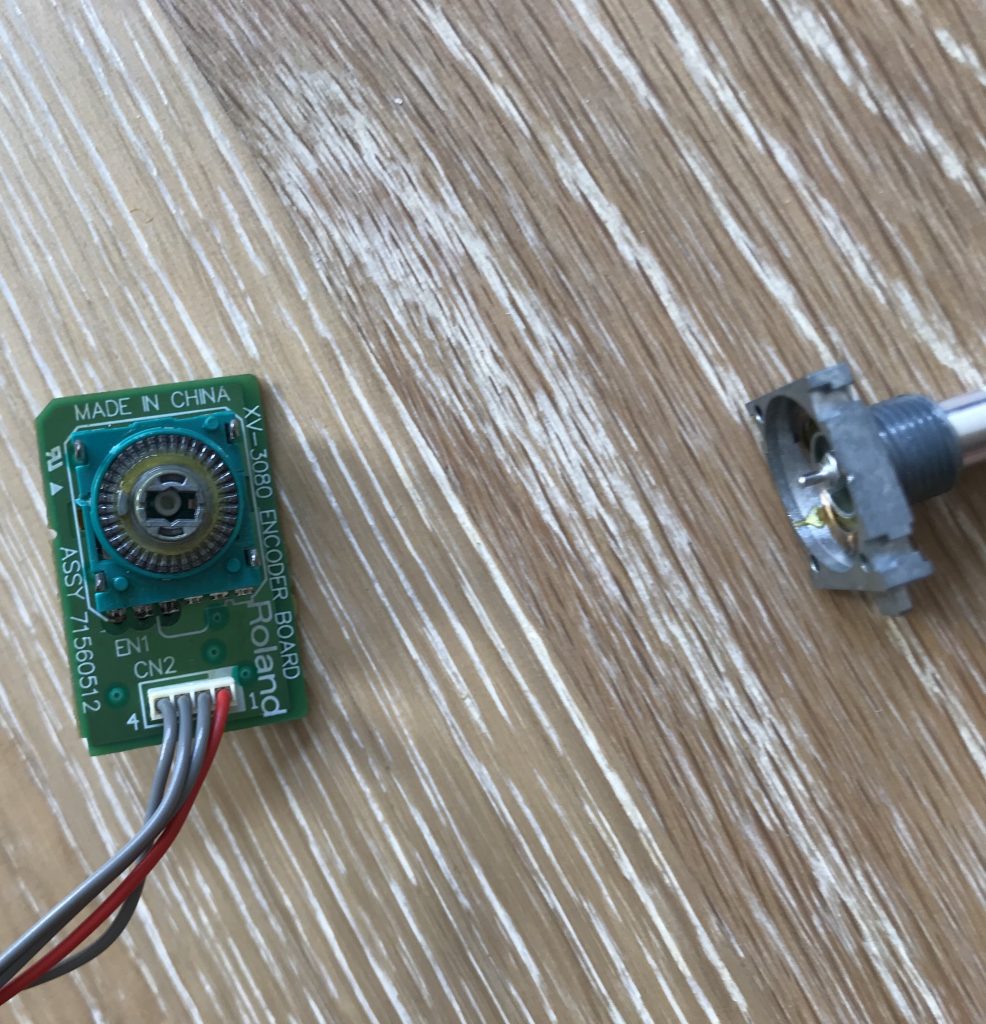
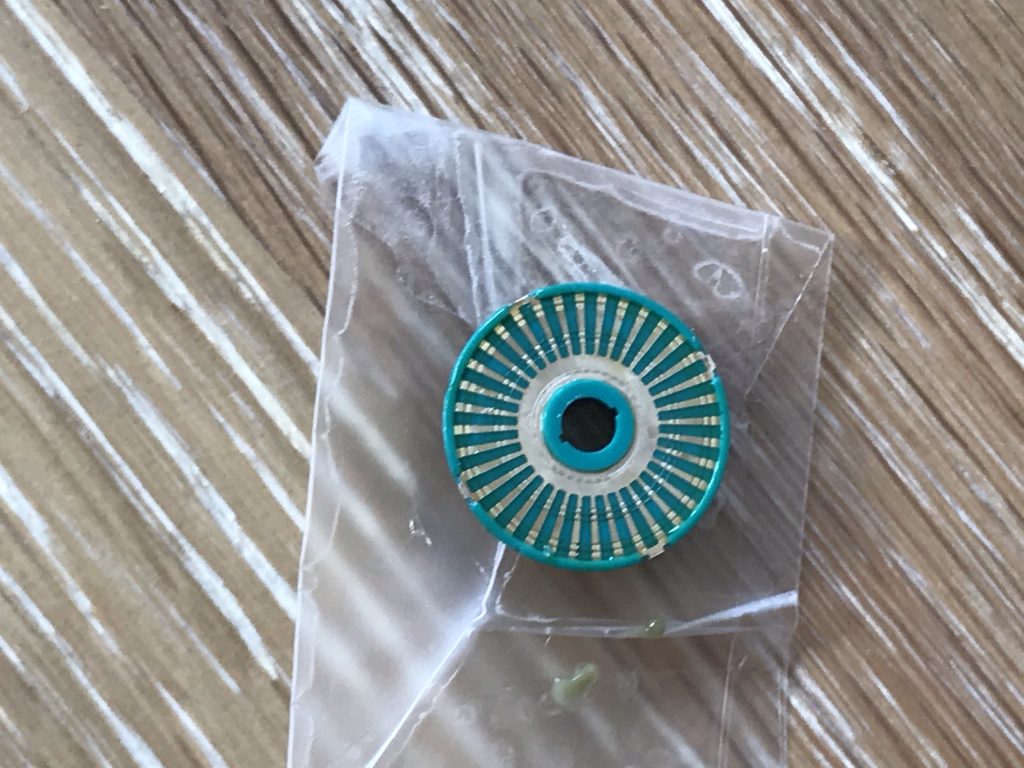
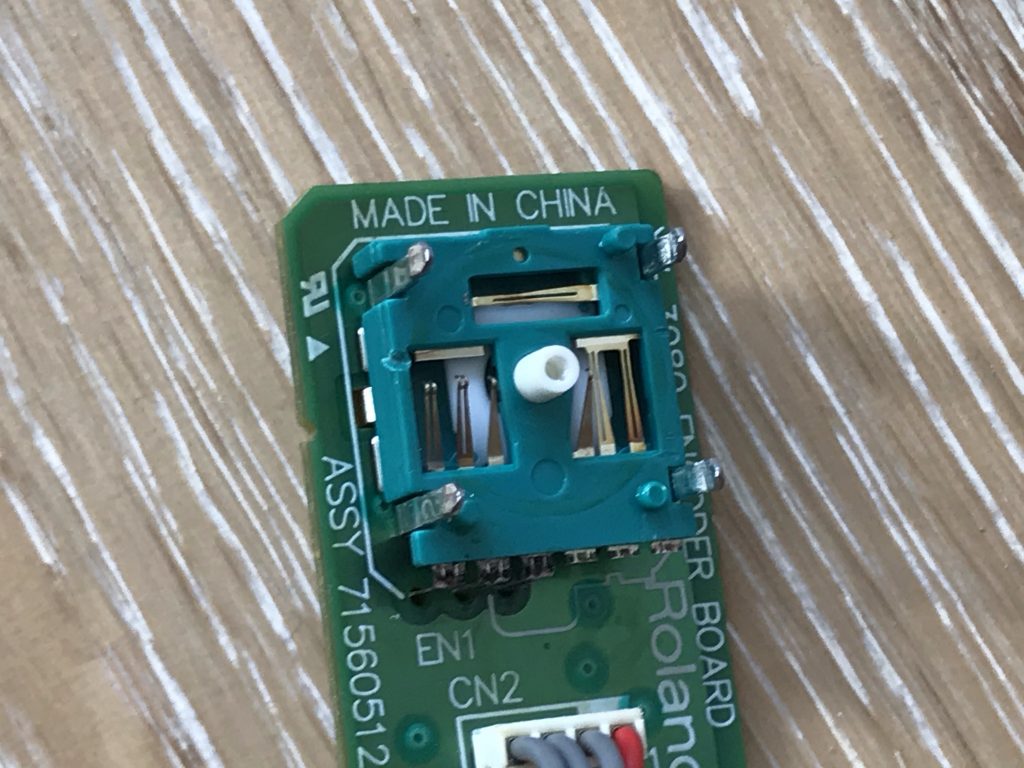
Cleaning time: remove excess lubricant fat with the screwdriver from all parts, save it for later and clean all of the contacts carefully using contact spray and q-tips. I have also tried to carefully lift the thin sliding contacts for a higher pressure. Be very careful here! Probably thats not even needed.
Reapply the fat and assemble everything again. Works as new and didn’t take me more than 15mins with all the tools prepared. If it ain’t broken: clean it!
As to the reasons of why the encoder fails: Since there is no corrosion in the device my theory is that copper micro particles get caught in the lubricant and cause wrong pulses.